Introducing Geofences, your simple and effective tool for accurate
shipment tracking.
Geofencing lets you define precise virtual boundaries around your locations to automatically track when carriers arrive or leave. This ensures reliable and timely shipment updates based on real-time carrier locations.
Here's how you can quickly set up your geofences:
|
|
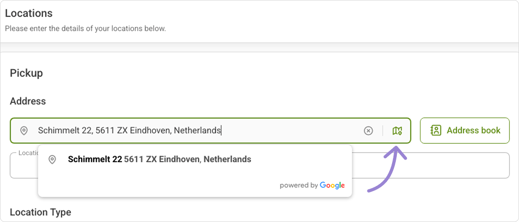
When Booking1. Navigate to "Locations" step During the booking process or when creating a lane, go to the "Locations" page. Click on the map icon next to the "Enter a location" box. |
|
|
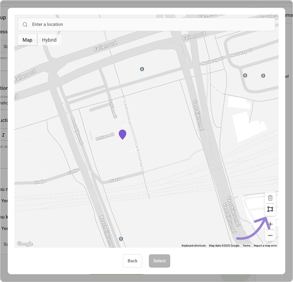
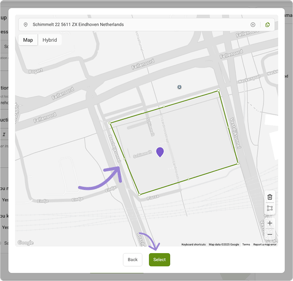
2. Geofence Mapping Select the geofence icon to start defining your geofence. 3. Confirm Selection Draw the area and click "Select" to finalise. |
|
|
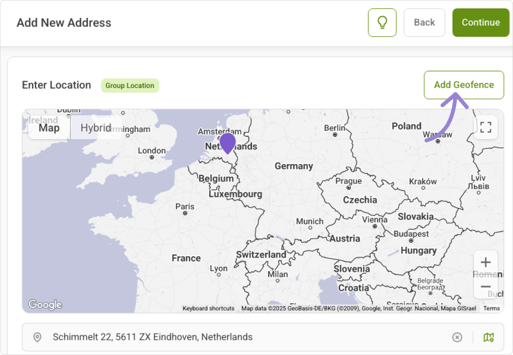
Using the Addressbook1. Navigate to Addressbook When adding a new address in the "Address Book," click the button above the map labelled "Add geofence." Click on the map icon next to the "Enter a location" box. 2. Geofence Mapping Follow the same process as in the previous step to mark the geofences. |